
Black Flag Resynced Manual Jump, Side Eject, and Back Eject Explained
The short answer
Manual Jump gives direct control over leaps for shortcuts and momentum, while Advanced Parkour enables side ejects and back ejects from virtually any height, including non-targeted jumps into open space. Use Parkour Down when you want more precise side-eject behavior and Parkour Up when the priority is gaining height and upward flow. If that sounds like more control than you currently want, Ubisoft says the advanced system can be disabled.
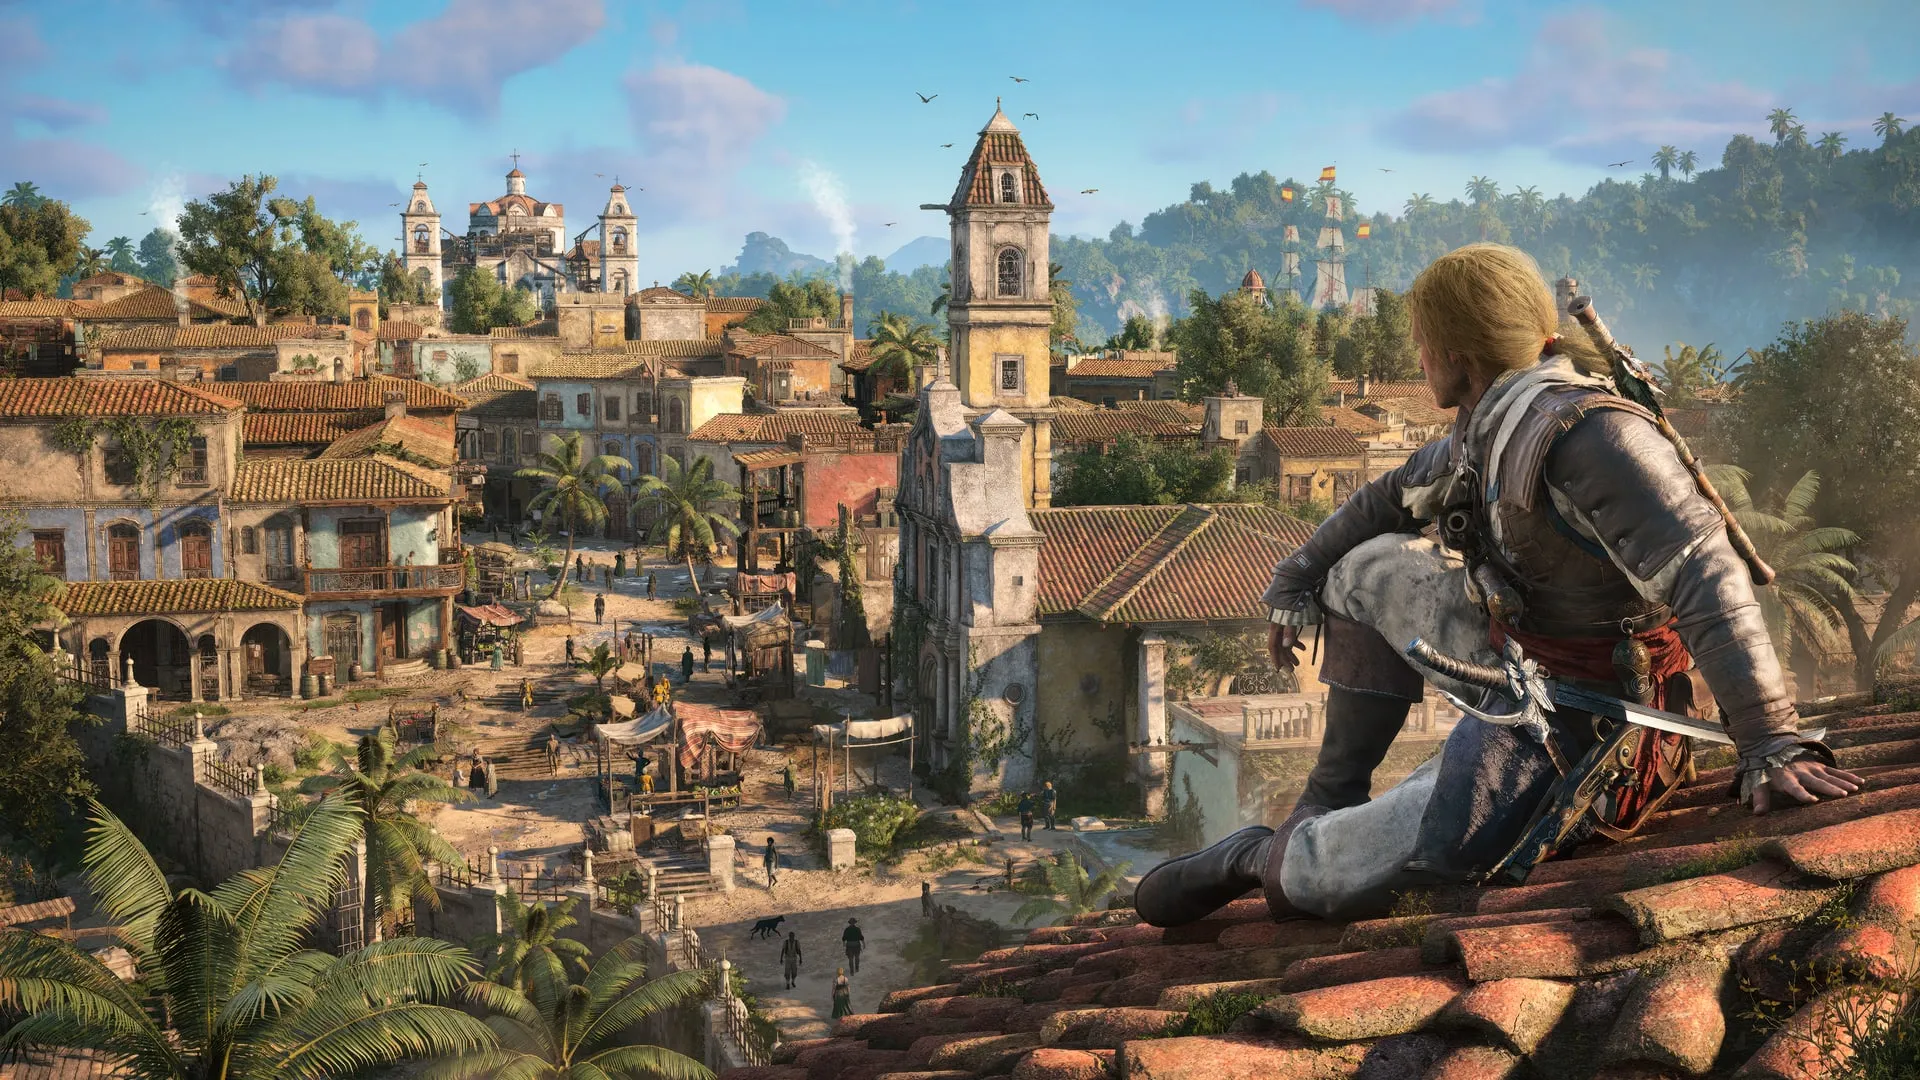
The important change is not that Edward has more animations. It is that the player can choose a line rather than waiting for the game to guess one. On Havana rooftops, Kingston balconies, and Nassau rigging, that means a route can be shaped by the next objective instead of only by the nearest contextual prompt.
Manual Jump: choose the leap
Ubisoft describes Manual Jump as direct control that can create shortcuts, increase velocity, and smooth the flow of parkour. That is a useful promise, but it carries a responsibility: a manual leap can also be a manual mistake. The move is best when you can see the landing, know why it saves time, and have room to recover if the route is not perfect.
Use it for a deliberate gap, a visible shortcut, or a route that needs momentum. Do not use it simply because the button exists and a roof is nearby. The first habit of good parkour is still reading the space. Manual control rewards a plan; it does not turn a blind jump into navigation.
What Advanced Parkour adds
With Advanced Parkour active, side ejects and back ejects become possible from virtually any height, including non-targeted jumps into the void. That phrasing matters. The system is less guided by authored targets, so it gives an experienced player more ways to leave a surface and change line.
There are two priorities built into the movement modes:
- Parkour Down supports more precise side-eject behavior.
- Parkour Up continues to prioritize height gains and upward momentum.
Think of that as a routing choice. Need to escape sideways around an obstacle, switch to another line, or correct a rooftop angle? Work with the down-oriented behavior. Need to continue rising toward a balcony, ledge, or higher course? Favor the upward priority. The system is about intent, not about memorizing a ritual for every wall.
Side eject versus back eject
| Move | Use it when | What it solves |
|---|---|---|
| Manual Jump | A visible leap creates a shortcut or preserves speed | Direct choice over when to leave a surface. |
| Side eject | Your route needs a lateral correction | Changes line across tight rooftops, balconies, or rigging. |
| Back eject | A different line or higher reposition is behind the current direction | Breaks out of a straight climb and can support height-focused routing. |
| Guided traversal | You are learning a location or do not need the extra freedom | Reduces the chance of self-inflicted detours. |
The table is deliberately task-led. Do not ask “which move is coolest?” Ask where the next useful landing is. Parkour becomes much cleaner when every eject has a destination rather than being an act of faith performed above a very judgmental street.
Build lines in short segments
Advanced movement can make a big route feel tempting, but a long chain of improvised ejects is fragile. Instead, break the run into two- or three-move intentions: climb to the first roof, side-eject to the balcony line, then use Manual Jump only when the next landing is clear. Reassess at each surface.
This works especially well while escaping, because a short reliable direction change is more useful than a stylish attempt to cross the entire district. Ubisoft says faster interrupts let players switch moves quickly; use that responsiveness to correct the plan, not to mash through a missed landing. If the route stops making sense, take the safe surface and restart the line.
Parkour and stealth are not separate skills
Better traversal creates better stealth approaches. A side eject can move Edward away from a watchful route; Manual Jump can reach a quieter roof; a back eject can reposition without walking through a crowded ground space. Once in place, crouch-anywhere and light-and-shadow visibility give another layer of control.
Do not turn that into a promise that every roof is automatically safe. Ubisoft’s stealth rules still require awareness. Crouching reduces visibility at medium to long range and darkness helps, but Edward is not fully hidden. The crouch and visibility guide covers the detection side. Parkour gets you to the better angle; stealth decides whether the angle stays quiet.
When to disable Advanced Parkour
Ubisoft explicitly says Advanced Parkour can be disabled for players who prefer a more guided approach. That is a quality setting, not a shame setting. Disable it when a difficult mission needs reliable context-driven movement, when you are learning an unfamiliar district, or when accidental ejects are costing more time than the extra routes save.
Turn it back on when you want to practice. A good training loop is low-stakes exploration: find a small rooftop block, test a clear side direction, test a height-gaining route, and repeat without guards or a mission timer. The goal is to learn how the modes prioritize movement, not to prove that every errand needs a stunt sequence.
A practical route decision
- Identify the actual destination, not just the first climbable object.
- Use Parkour Up when gaining height is the route’s main need.
- Use Parkour Down and a side eject when the route needs a lateral correction.
- Press Manual Jump only with a clear landing and a reason to save distance or momentum.
- Interrupt, reset, or disable advanced movement when precision has become guesswork.
The best route is the one that reaches the objective cleanly. Style is welcome; falling three times beside the same balcony is merely a very public disagreement with gravity.
The verdict
Manual Jump and Advanced Parkour finally let skilled players own the path through the Caribbean’s vertical spaces. Use the controls to make intentional lines, favor short readable segments, and switch the system off when a guided approach serves the mission better. More freedom is valuable only when it stays under your command.
Sources
← Back to Guides