Dominating the Caribbean: Fort Takeovers and Naval Contracts in Black Flag Resynced
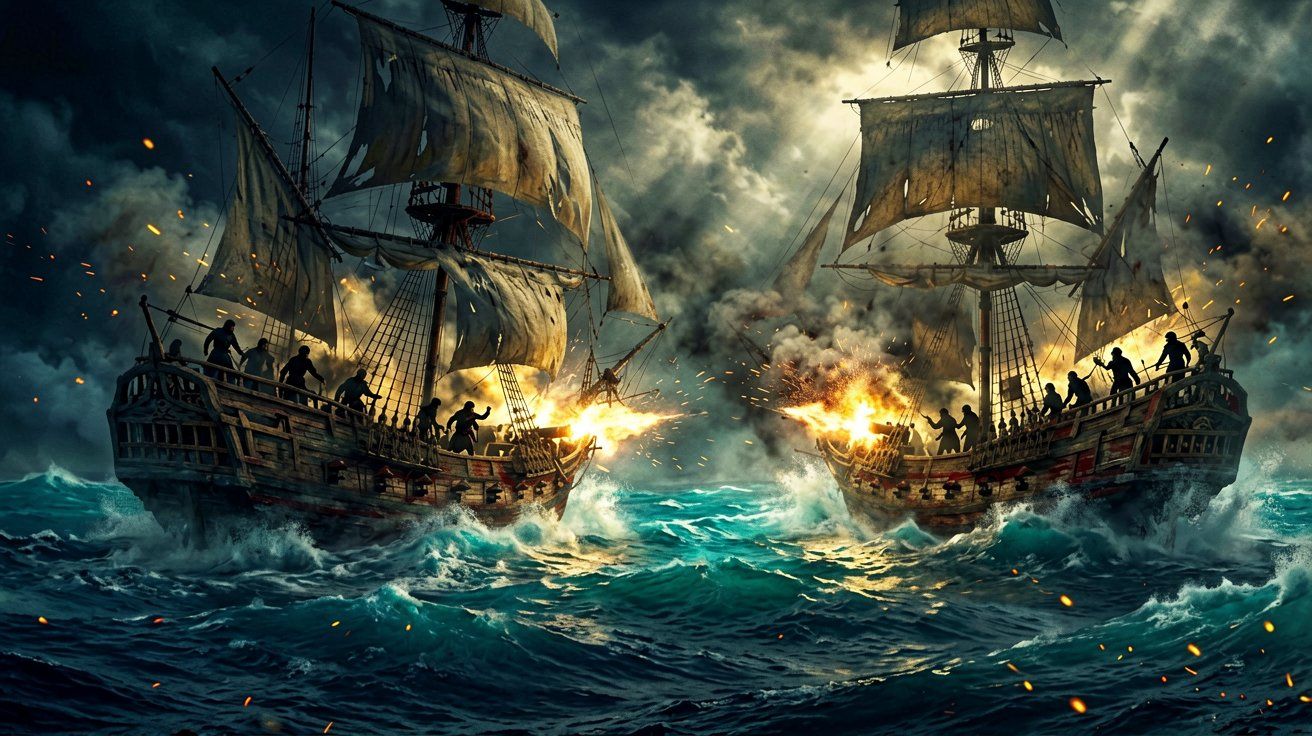
Controlling the expansive Caribbean map in Assassin’s Creed Black Flag Resynced requires far more than simply hoisting your sails and riding the wind. The ocean is effectively carved into hostile territories managed by heavily armed imperial forces. Their primary method of maintaining an iron grip over the waters is through massive, heavily armed stone structures: coastal forts. Taking these fortifications is mandatory for any pirate captain looking to establish regional dominance, clear the expansive fog of war, and tap into the highly profitable economy of the high seas.
Conquering a fort immediately shifts the balance of power in a region. Once the British or Spanish colors are torn down and replaced with pirate black, the immediate waters become significantly safer. More importantly, establishing a foothold in these military bases introduces Edward Kenway to the Van der Graaf Company, unlocking a series of highly lucrative Naval Contracts.
Understanding the seamless transition between ship-to-ship combat and intense close-quarters infiltration is crucial for survival. Fort sieges and the subsequent contracts represent the pinnacle of maritime warfare in the game.
Preparing the Jackdaw for Siege Warfare
Coastal forts are not standard enemy vessels. They do not move, meaning their gunners have already dialed in their ranges, and their stone walls possess staggering health pools that will shrug off basic round shot. Attempting a siege with an un-upgraded hull is guaranteed to result in rapid desynchronization.
Before sailing into a fort’s restricted red zone, upgrading the Jackdaw is a strict requirement. Refer to our extensive resources on naval warfare mechanics to understand the core upgrade loops, but prioritize the following:
- Reinforced Hull: Fort mortars deal area-of-effect damage. Even a near miss will strip away a massive chunk of a basic hull’s integrity. Upgrading your hull armor ensures you can survive the inevitable glancing blows while maneuvering.
- Mortars: You must fight fire with fire. Upgrading your own mortars allows you to soften the fort’s towers from a distance before entering the lethal range of their heavy broadside cannons.
- Heavy Shot: Standard round shot is meant for wooden hulls. When you pull up alongside a stone tower, you need the localized, devastating impact of heavy shot to crumble the defenses quickly.
Phase One: The Naval Bombardment
Entering a fort’s perimeter immediately triggers an aggressive response. The Anvil engine shines here, rendering intense water displacement and dynamic weather changes as the bombardment begins.
The primary objective during the naval phase is to destroy all active defensive towers along the fort’s perimeter. The UI will indicate the health of each specific tower.
Mobility is your greatest asset. Do not drop anchor. Maintain half-sail to balance speed and turning radius. Fort mortars will paint the water with yellow targeting circles moments before impact. The Resynced water physics mean that riding high on a rogue wave can actually slow your escape from these kill zones, so anticipate the timing. When the water turns yellow, instantly brace your crew to minimize the incoming damage if escaping the radius is impossible.
Use your mortars to strike the towers facing away from your current broadside angle. As you circle the structure, align the Jackdaw parallel to the walls and unleash heavy shot at close range. Beware of rogue frigates or brigs patrolling nearby; enemy ships will often attempt to flank you while the fort distracts your attention. If a patrol ship engages, sink it quickly or use chain shot to disable its mobility, saving it for a boarding action to repair the Jackdaw mid-siege.
Phase Two: Ground Assault and the Commander
Once the final tower crumbles into the ocean, the naval bombardment phase concludes. A prompt will appear near the fort’s docks, allowing Edward to moor the Jackdaw. This transitions the encounter from a naval battle into a seamless ground infiltration.
You will leave the wheel and charge into the ruined structure alongside your crew. The objective shifts: you must hunt down and eliminate the Fort Commander, and occasionally a secondary target such as the resident Captain.
The interior of a burning fort is chaotic. Expect heavily armored Brutes and agile officers blocking your path. Rely heavily on your hand-to-hand combat systems, utilizing parries and guard breaks to deal with shielded enemies. Since the environment is loud and heavily distracted, you can also leverage your stealth tactics to slip past the frontline brawls and climb directly to the war room via the ruined scaffolding. Heavy smoke from the cannon fire provides natural cover, making smoke bombs incredibly effective for chaining assassinations in narrow corridors.
Upon reaching the war room, assassinate the Commander. A cinematic sequence will play, signaling the fort’s capture. The region’s map will completely synchronize, revealing all nearby collectibles, legendary ships, and hidden locations.
The Van der Graaf Company and Naval Contracts
With the fort secured, a new icon will appear on your map inside the fort’s courtyard. This represents an agent of the Van der Graaf Company. Speaking to this broker opens the ledger for Naval Contracts.
Naval Contracts are essentially assassination and bounty missions tailored specifically for the Jackdaw. They are some of the most profitable activities in Black Flag Resynced, offering thousands of Reales and rare ship customization items.
The contracts escalate in difficulty depending on the region. A contract picked up in a low-level area like the Dry Tortugas will vastly differ in challenge compared to a contract sourced from the heavily fortified Serranilla region.
Categorizing Naval Contracts
The Van der Graaf Company will issue several distinct types of maritime operations:
- The Assassination: The most straightforward contract. You are given the last known location of a high-value target—usually a heavily armored Spanish Galleon or British Man-o’-War. You must track the vessel down and send it to the bottom of the sea. Boarding the vessel will also satisfy the contract, yielding double the resources (plunder plus the contract payout).
- The Escort: A true test of your situational awareness. You must sail alongside an allied merchant vessel and protect it from incoming waves of pirate hunters. The attackers will spawn in formations. Using mortars to break up their formations before they enter firing range of your VIP is critical.
- Smuggler Interception: Speed is the determining factor here. You are tasked with hunting down exceptionally fast schooners or brigs attempting to flee the region. Upgraded chain shot is mandatory. Fire chain shot from your bow chasers to shred their sails, deadening their speed so you can move in for the kill.
- Contraband Retrieval: A mix of exploration and combat. You must navigate into a hostile search area, avoid or engage heavy patrols, and collect designated cargo floating in the water.
Advanced Strategies for Maritime Dominance
Success in high-tier Naval Contracts requires mastering the Jackdaw’s momentum and weapon synergy.
Never approach a contract target head-on if they are in a Man-o’-War. Their forward-facing cannons will shred the Jackdaw’s bow. Instead, use the wind to approach from their rear quarter. Ram them at full speed using an upgraded ram, immediately drop to half-sail to grind alongside their hull, and unleash a point-blank volley of heavy shot. Follow up instantly with swivel gun precision shots to detonate exposed powder reserves.
Furthermore, managing your Wanted Level is essential. Accepting a contract to sink a British ship while already carrying a level four Wanted rating means you will be fighting the contract target alongside massive Pirate Hunter galleons. Unless you are intentionally farming for metal and wood, always pay off local officials or lower your Wanted Level by boarding ships before engaging a difficult Naval Contract.
Conquering forts and fulfilling the Van der Graaf Company’s ledgers will rapidly fill your coffers. The Reales earned here are necessary for the final, most expensive Jackdaw upgrades, which are absolutely vital before you even consider engaging the Legendary Ships hidden in the corners of the map. For more insights into maximizing your experience, check our main guides hub.
Sources
- Assassin’s Creed Black Flag Resynced: All Naval Contracts and How to Complete Them - Vandal
- How to take over Forts in Assassin’s Creed Black Flag Resynced - VULKK.com
- All 3 Community Chests in Assassin’s Creed Black Flag Resynced - RockPaperShotgun
- How to get Red Bull community rewards in Assassin’s Creed Black Flag Resynced - IMDb
← Back to News