How to Capture a Man O' War Without Naval Combat in Black Flag Resynced
The Caribbean Sea in Assassin’s Creed Black Flag Resynced is an unforgiving expanse, especially when the massive silhouette of a Man O’ War breaks the horizon. For players still working on gathering resources to upgrade the Jackdaw, these towering galleons—often bristling with dozens of heavy cannons, reinforced rams, and thick hull armor—represent a nearly insurmountable threat. Engaging a level four or five-star vessel in a traditional broadside duel usually results in a swift trip to the desynchronization screen if your ship lacks elite hull plating and advanced mortar capabilities. As noted in our tips for struggling with the jackdaw, sometimes running away is the smartest move a captain can make.
However, resourceful players have discovered a remarkably effective tactic that bypasses the brutal mechanics of naval warfare entirely. By leaning heavily into Edward Kenway’s primary skill set as an Assassin, you can secure these floating fortresses without firing a single cannonball. This approach relies on patience, precise environmental positioning, and ruthless efficiency on deck, transforming an impossible artillery duel into a highly rewarding infiltration mission.
The Economics of a Quiet Boarding
Before outlining the exact methodology, it is essential to understand why this pacifist approach to ship-to-ship combat is so strategically valuable. Upgrading your vessel is the core progression loop of the game, and as outlined in our discussions on maxing the Jackdaw, reaching the highest tiers of naval power requires astronomical amounts of raw materials. To afford the elite hull armor, heavy shot, and advanced mortar storage, you need massive quantities of metal and wood.
Man O’ War ships hold the absolute richest cargo yields in the game, but taking them down conventionally almost always severely damages your own ship. This forces you to spend hard-earned Reales on repairs or obligates you to hunt down smaller, less profitable ships just to patch your hull back together. By utilizing this stealth boarding method, you preserve 100% of the Jackdaw’s structural integrity. Furthermore, a pristine, captured Man O’ War is the ultimate prize for your armada. Sending one of these juggernauts to Kenway’s Fleet provides you with a trade vessel that can dominate the hardest naval routes, securing a massive stream of passive income.
Phase One: Target Acquisition and Positioning
The execution of this strategy begins long before any blades are drawn. You must first find an appropriate target. Pull out your spyglass to scan the horizon for a massive galleon. Crucially, the ship must be sailing outside of active combat and away from highly congested, hostile territories like heavily guarded naval forts. If the galleon is already trading fire with a hunter ship or engaging a rival faction’s fleet, the game’s dynamic combat state will prevent this stealth method from working smoothly. You need a target that is calmly cruising the open waters.
Once you have identified an isolated target, you must approach with extreme caution. You need to sail the Jackdaw close enough to minimize your swimming distance, but far enough away to avoid triggering the enemy vessel’s detection radius. Watch your minimap closely; if the border begins to flash yellow or red, you have crossed the threshold and need to pull back immediately. Bring the Jackdaw to a complete stop, drop the anchor, and release the wheel. Do not fire any chase cannons or swivel guns. The goal is to remain entirely undetected, leaving the enemy crew completely unaware of your presence in their waters.
Phase Two: The Open Water Approach
With the Jackdaw safely anchored and bobbing on the waves, run to the bowsprit and dive into the ocean. The updated Anvil engine renders the water physics and weather systems beautifully, but swimming across open waves toward a towering warship is a slow, tension-filled process. You are entirely defenseless in the water. Keep your camera angled upward to monitor the enemy crew pacing the upper decks and the snipers stationed in the rigging.
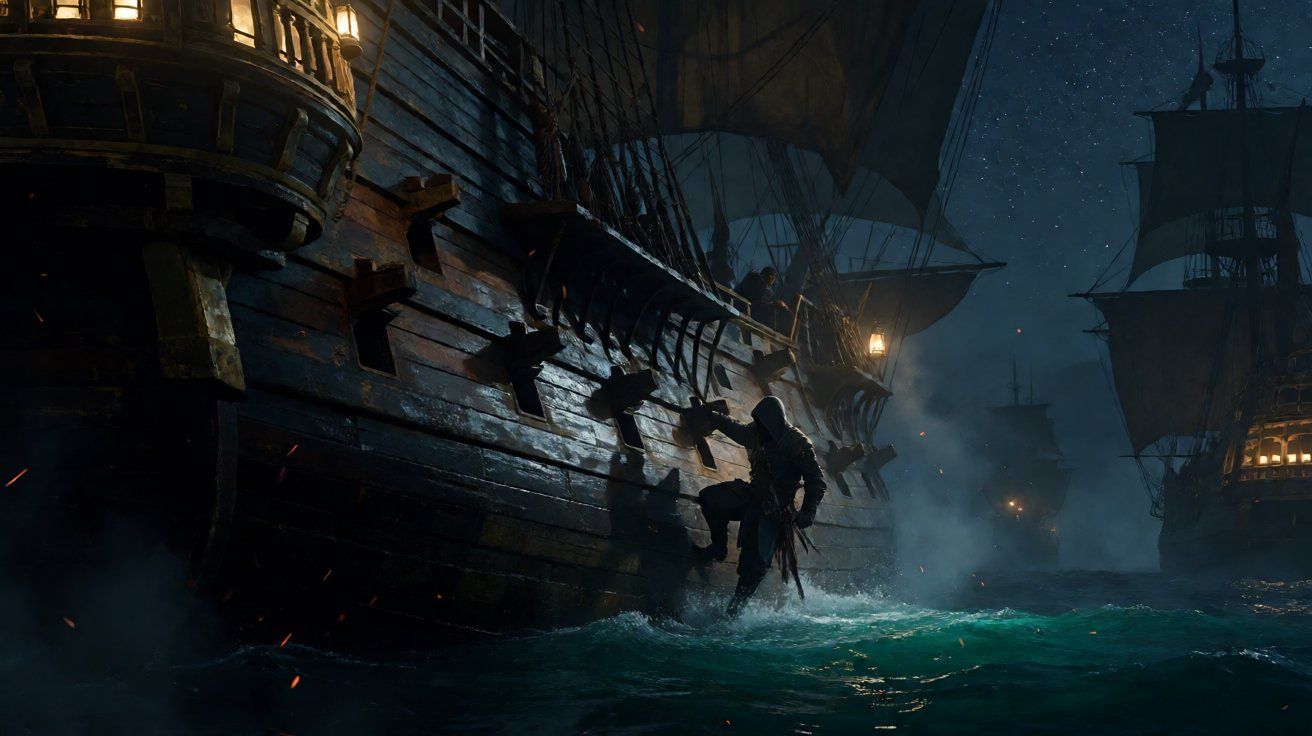
As you reach the wooden hull of the Man O’ War, carefully begin your vertical ascent. Avoid climbing near the open gun ports if possible, and steer clear of the ornate stern windows where officers frequently patrol. Even though the ship is not officially in a combat state, an observant sniper in the crow’s nest or a patrolling guard can still spot a climbing assassin if you break their line of sight for too long. Wait for the guards on the immediate railing to turn their backs or begin walking away before pulling yourself over the edge and immediately taking cover behind a cluster of cargo barrels or a cannon mount.
Phase Three: Clearing the Deck
The moment your boots touch the deck, the rules of engagement shift entirely to stealth and close-quarters combat. Because the ship was never damaged by cannon fire, the enemy crew is at absolute full strength. You will face a dense concentration of standard deckhands, heavy brutes wielding massive axes, agile scouts in the rigging, and heavily armored officers guarding the helm.
Your objective is to eliminate every single hostile NPC on the ship. Given the sheer numbers, a direct, noisy assault is highly discouraged. Instead, lean heavily on your Assassin toolset:
- Smoke Bombs: These are arguably your most valuable asset during a deck clearing. A well-placed smoke bomb allows you to chain assassinate three to four high-threat targets (like brutes and officers) before the cloud dissipates and the remaining crew realizes what is happening.
- Berserk Darts: If you prefer an even more chaotic approach, firing a berserk dart from the shadows into the neck of a heavy brute will turn the ship’s crew against themselves. Watching the enemies whittle their own numbers down while you hang safely from the rigging is not only entertaining but highly effective.
- Flintlock Pistols: Use manual free-aim to quietly take out the scouts stationed high in the masts before they can raise a general alarm and start taking potshots at you.
- Whistling and Corner Takedowns: Use the complex architecture of the deck—masts, cargo netting, and supply crates—to isolate enemies, whistle to gain their attention, and pull them out of sight for a quiet kill.
If you are eventually spotted and forced into open conflict, rely heavily on the game’s revamped combat mechanics. Prioritize parrying incoming strikes and using the environment to your advantage. Disarming a brute and using his own heavy weapon against the remaining officers is an excellent way to thin the herd quickly when surrounded.
A Community Note on Ship Interiors
While you are fighting for your life across the deck, it is worth noting a recent community observation regarding the game’s environmental design. Despite the massive graphical leap forward and the total rebuild in the modern Anvil engine, passionate players have reported that the interior layers of these massive ships are still not fully modeled for seamless exploration.
If you were hoping to fight your way down the stairs into the lower gun decks, or explore the captain’s quarters during this stealth assault, you will find those areas completely inaccessible. The environmental damage system relies heavily on superficial damage models rather than dynamic, volumetric physical destruction. Consequently, the entirety of this infiltration—and the subsequent bloodbath—must take place on the main exterior deck and within the upper rigging. You cannot retreat below deck to hide from a pursuing mob, so your spatial awareness on the top level is paramount to your survival.
Phase Four: Claiming the Leviathan
The tension immediately breaks once the final crew member or officer is successfully assassinated. Because the game’s logic engine tracks the life state of the crew to determine the outcome of a boarding action, eliminating the entire roster manually triggers a successful capture event, completely bypassing the need to shoot the ship’s masts down.
The familiar post-boarding menu will appear on your screen, offering you the standard pirate choices. Because you skipped the naval combat phase entirely, your Jackdaw took zero damage, making the “Repair Ship” option entirely unnecessary. This leaves you free to either scuttle the massive Man O’ War to strip it of its highly valuable metal, wood, and cloth reserves, or capture it permanently.
If you are in the early to mid-game, capturing the vessel is almost always the correct tactical choice. Having a high-tier ship in your fleet dramatically alters your trading capabilities, allowing you to secure lucrative global routes that smaller schooners and brigs simply cannot survive.
The Ultimate Pirate Fantasy
This stealth-boarding tactic is a brilliant example of the emergent gameplay possible within Black Flag Resynced. The developers built a highly systemic world where the rules of naval engagement and on-foot assassination seamlessly intersect. By choosing to approach a maritime threat with the subtle tools of the Brotherhood rather than the brute force of a pirate captain, you save vital resources, preserve your ship, and experience one of the most satisfying infiltration puzzles the Caribbean has to offer.
The next time you spot a towering galleon cutting through the morning fog, keep the covers on your cannons. Drop the anchor, dive into the waves, and take the ship from the shadows.
Sources
← Back to News