Black Flag Resynced Fort Capture Guide: Morale, Commander, and Regional Rewards
The short answer
Capture a fort by winning the naval assault, landing with the crew, lowering the defenders’ morale through meaningful actions, then defeating the commander when they finally stand and fight. A captured fort does more than remove a hostile landmark: Ubisoft says it reveals new regional points of interest and opens additional Kenway’s Fleet missions.
The old instinct is to look for a fixed checklist. Resynced uses a dynamic morale system instead. That means the player should focus on reducing the fort’s ability and will to resist, not on memorizing one rigid sequence that may not fit the fight in front of them.
Phase one: take the sea seriously
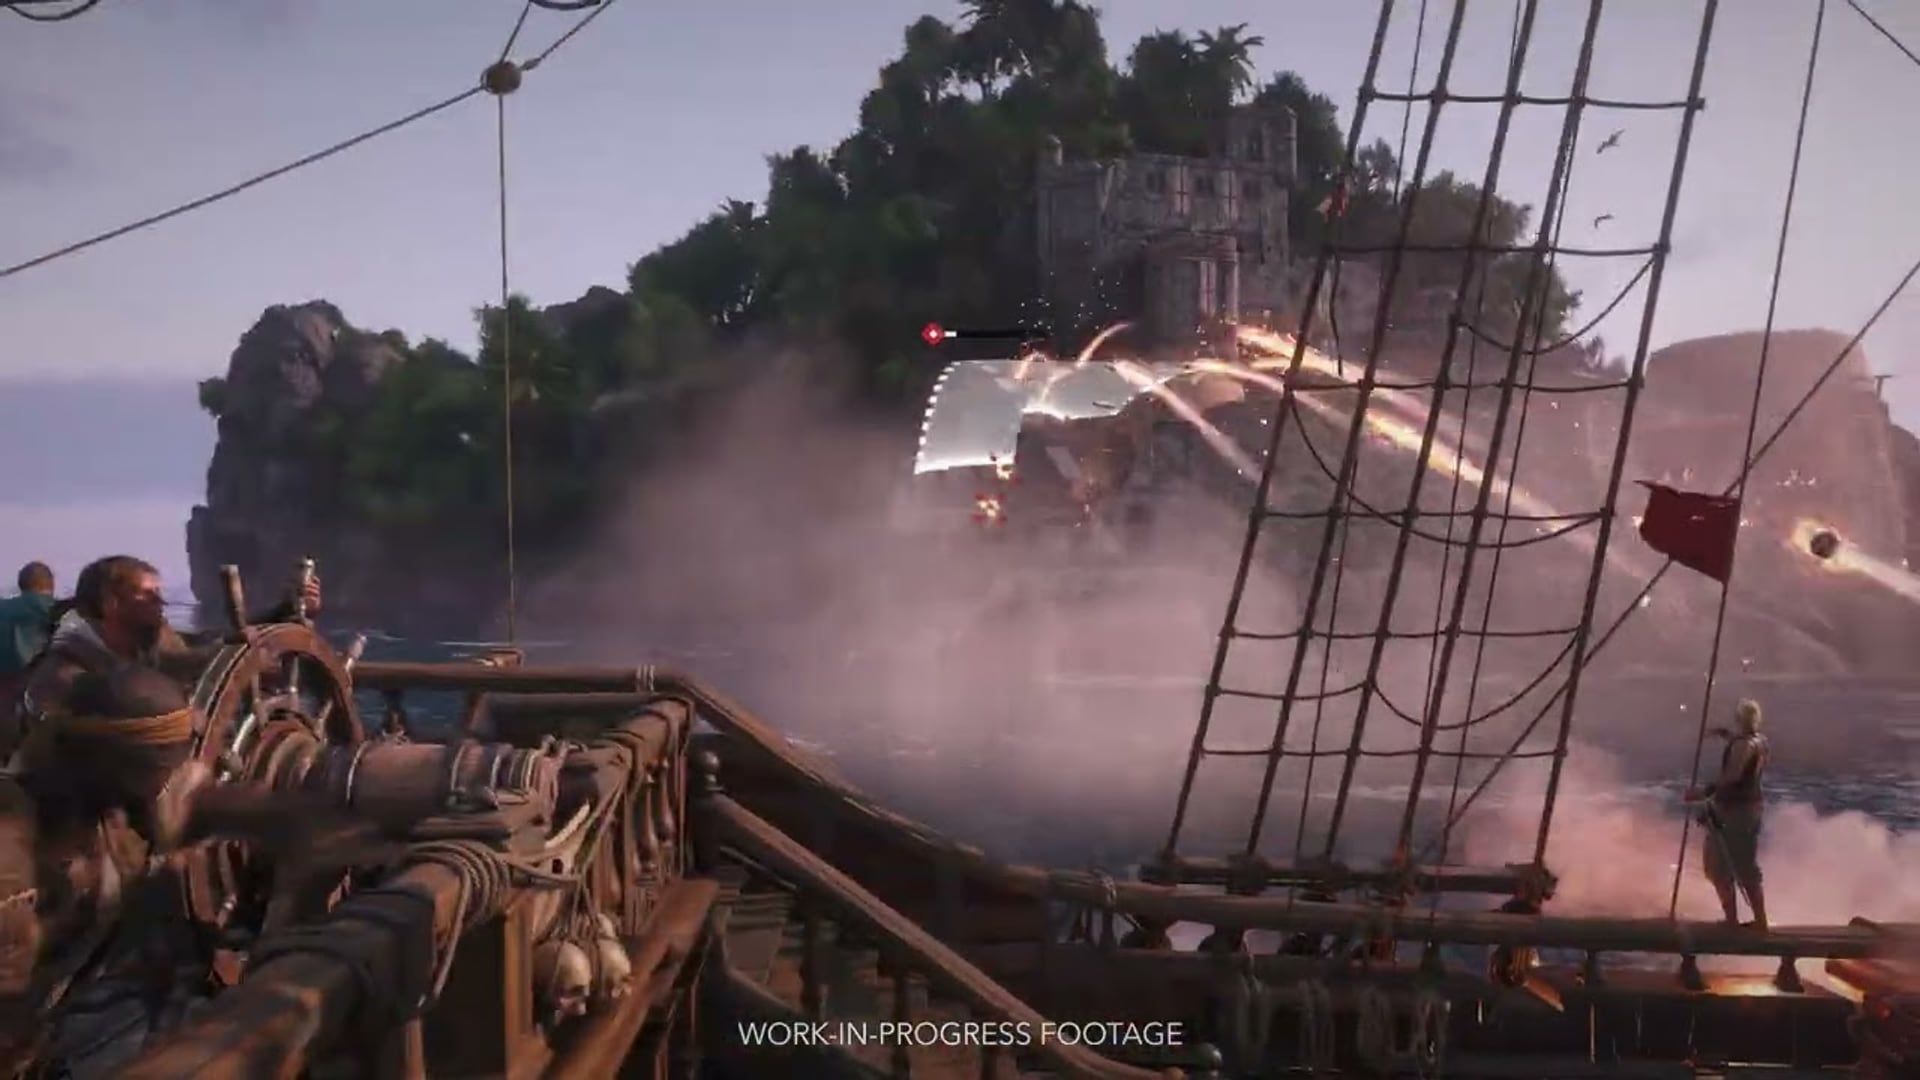
Each map region has one fort, and Ubisoft describes the opening as a tough naval battle that can alert nearby enemy ships. Do not sail into a fort with a damaged Jackdaw and a vague plan to improvise on land. Fort guns and reinforcements make the water phase the gatekeeper for everything afterward.
Prepare as if you are starting a multi-stage activity, because you are. Make sure the Jackdaw has the weapon and defensive upgrades appropriate for the region, watch for nearby ships that may join, and decide whether your immediate goal is survival, disabling a dangerous target, or clearing a path to land. If you need resources first, boarding valuable ships is usually more efficient than blindly farming sinks.
Phase two: land with purpose
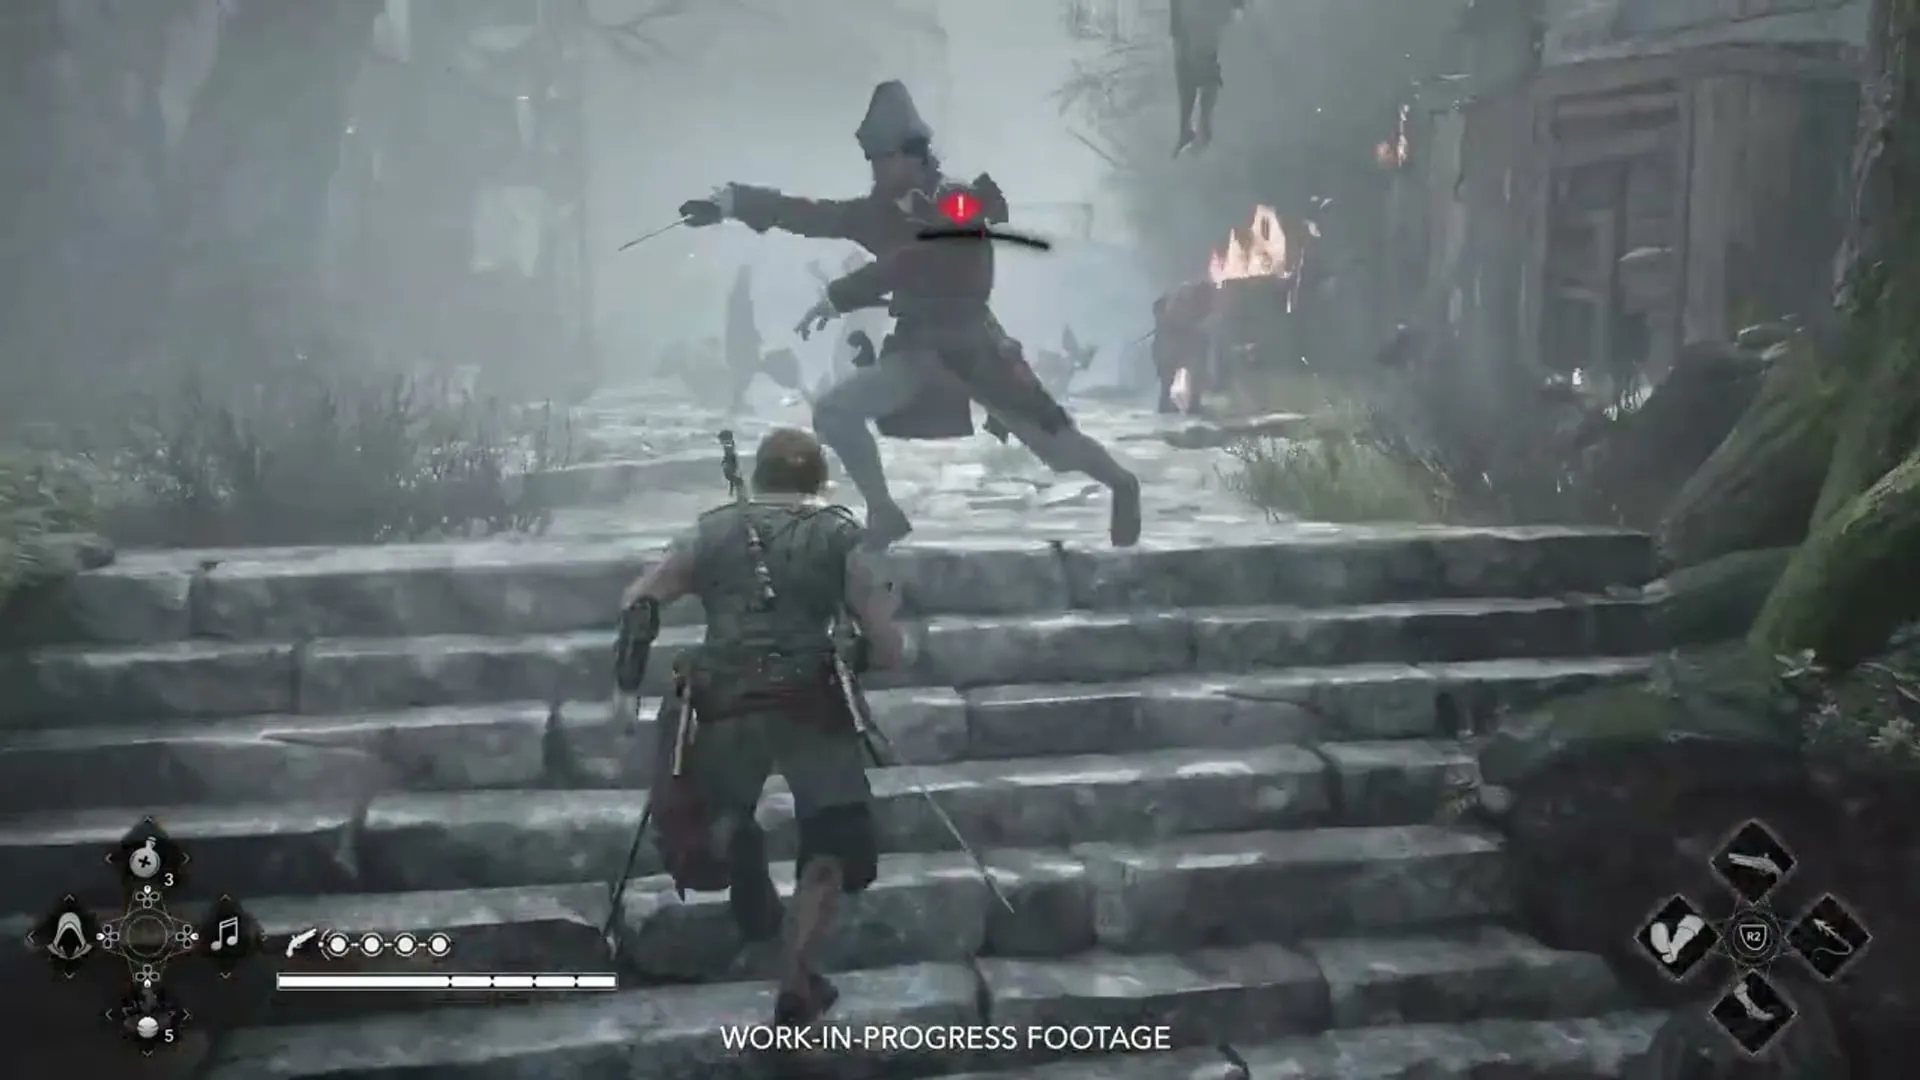
After naval combat, Edward deboards with his crew and faces the soldiers on land. This is not a separate side activity detached from the naval battle. It is the second half of fort capture. Enter with a plan for crowd control, priority targets, and your own positioning rather than assuming the crew will solve the ground phase by existing nearby.
Use the combat system’s intended answers. Parry readable attacks, dodge what cannot be parried, and break defense with tools or the environment. If the arena gets crowded, a correct takedown chain is more valuable than repeatedly trading basic attacks into a group that has already surrounded you. The combat controls guide covers those basics in detail.
Dynamic morale replaces a fixed script
Ubisoft says fort objectives are no longer fixed. Instead, a dynamic morale system makes all of your actions matter. Lower morale enough and the commander stops trying to surrender and comes out to fight.
That changes how you read the assault. Do not keep searching for one invisible, old-style objective marker when the battle is telling you to dismantle resistance. Remove threats efficiently, stay aware of the fort layout, and follow the morale progress rather than turning every soldier into a mandatory duel. The system rewards momentum and broad control of the situation.
It also means the commander is a climax, not a target to rush at the first moment. If the fort still has enough morale to sustain resistance, premature tunnel vision creates a messier fight. Lower the pressure first, then take the decisive encounter when the game opens it.
Phase three: defeat the commander
Once morale is low enough, the commander stands and fights. Treat this as a priority encounter, but not as an excuse to ignore the remaining space around you. The commander appears after a fort assault has already spent resources and crew attention; a clean finish is better than a heroic-looking overcommitment.
Use the same reading discipline as any advanced ground fight. Identify the attack type, choose parry or dodge, and avoid repeating one response until the opponent adapts. If the fort is near a hazard or you have a useful tool available, turn the environment into an advantage rather than trying to win every exchange through basic damage.
Why capture is worth the trouble
Taking a fort highlights new points of interest in its region and opens extra Kenway’s Fleet missions. Those are real progression rewards, not just map cleanup. New points of interest feed exploration; new fleet missions feed passive resources, trade goods, and activity opportunities when you have the right captured ships to assign.
This makes forts a smart mid-game investment once the Jackdaw is ready. Do not rush the hardest regional fort early merely to clear a map icon. Capture the fort whose surrounding region and Fleet opportunities fit the resources or ship classes you are already building toward.
For fleet decisions after a successful naval run, remember that a captured ship can be used for repairs, lowering Wanted level, a Captain’s Lockbox on larger ships, or added to the Fleet. The best option is the one that solves the next problem, not always the one with the most immediate loot.
A simple fort checklist
- Upgrade the Jackdaw at a Harbormaster for the region’s expected pressure.
- Clear or control the naval threats before landing.
- De-board and use the crew as support, not as a substitute for a plan.
- Reduce morale through efficient actions across the fort.
- Defeat the commander when they emerge.
- Inspect the newly revealed regional opportunities and Fleet missions.
Common failures
Arriving underprepared. A fort is not the place to discover your hull or weapon tier is behind.
Treating morale as flavor text. It is the system that governs the transition to the commander fight.
Ignoring nearby ships. The water phase can become worse if you let reinforcements choose the timing.
Clearing every soldier slowly. Work toward morale and control, not a theatrical one-enemy-at-a-time performance.
The verdict
Fort capture is a compact expression of Resynced’s naval loop: prepare the Jackdaw, manage a dynamic battlefield, lead a land assault, and convert the win into regional and Fleet progress. Go in with a ship strong enough to survive the opening and a plan flexible enough to respond to morale rather than a fixed script.
Sources
← Back to Guides