Black Flag Resynced Jackdaw Secondary Fire Modes: Best Ammo for Each Fight

The short answer
Switch to a secondary firing mode when the target’s position changes the job of your weapon. Use Bow Chaser double shot to punish a ship you are chasing, Heated Shot when you can keep a target in broadside range, Shrapnel Barrels to damage sails and escape a pursuit, and Deadman’s Cohort to saturate an area with manually directed Carcass bombs. Resynced lets you swap these secondary modes while aiming, so the right answer is available inside the fight rather than only at a port.
The key is to stop thinking of the Jackdaw’s weapons as fixed buttons. Ubisoft describes every weapon as having a secondary mode, effectively a new ammunition type. A secondary mode is not automatically stronger; it is stronger when it solves the current positioning problem.
Bow Chaser double shot: finish a chase
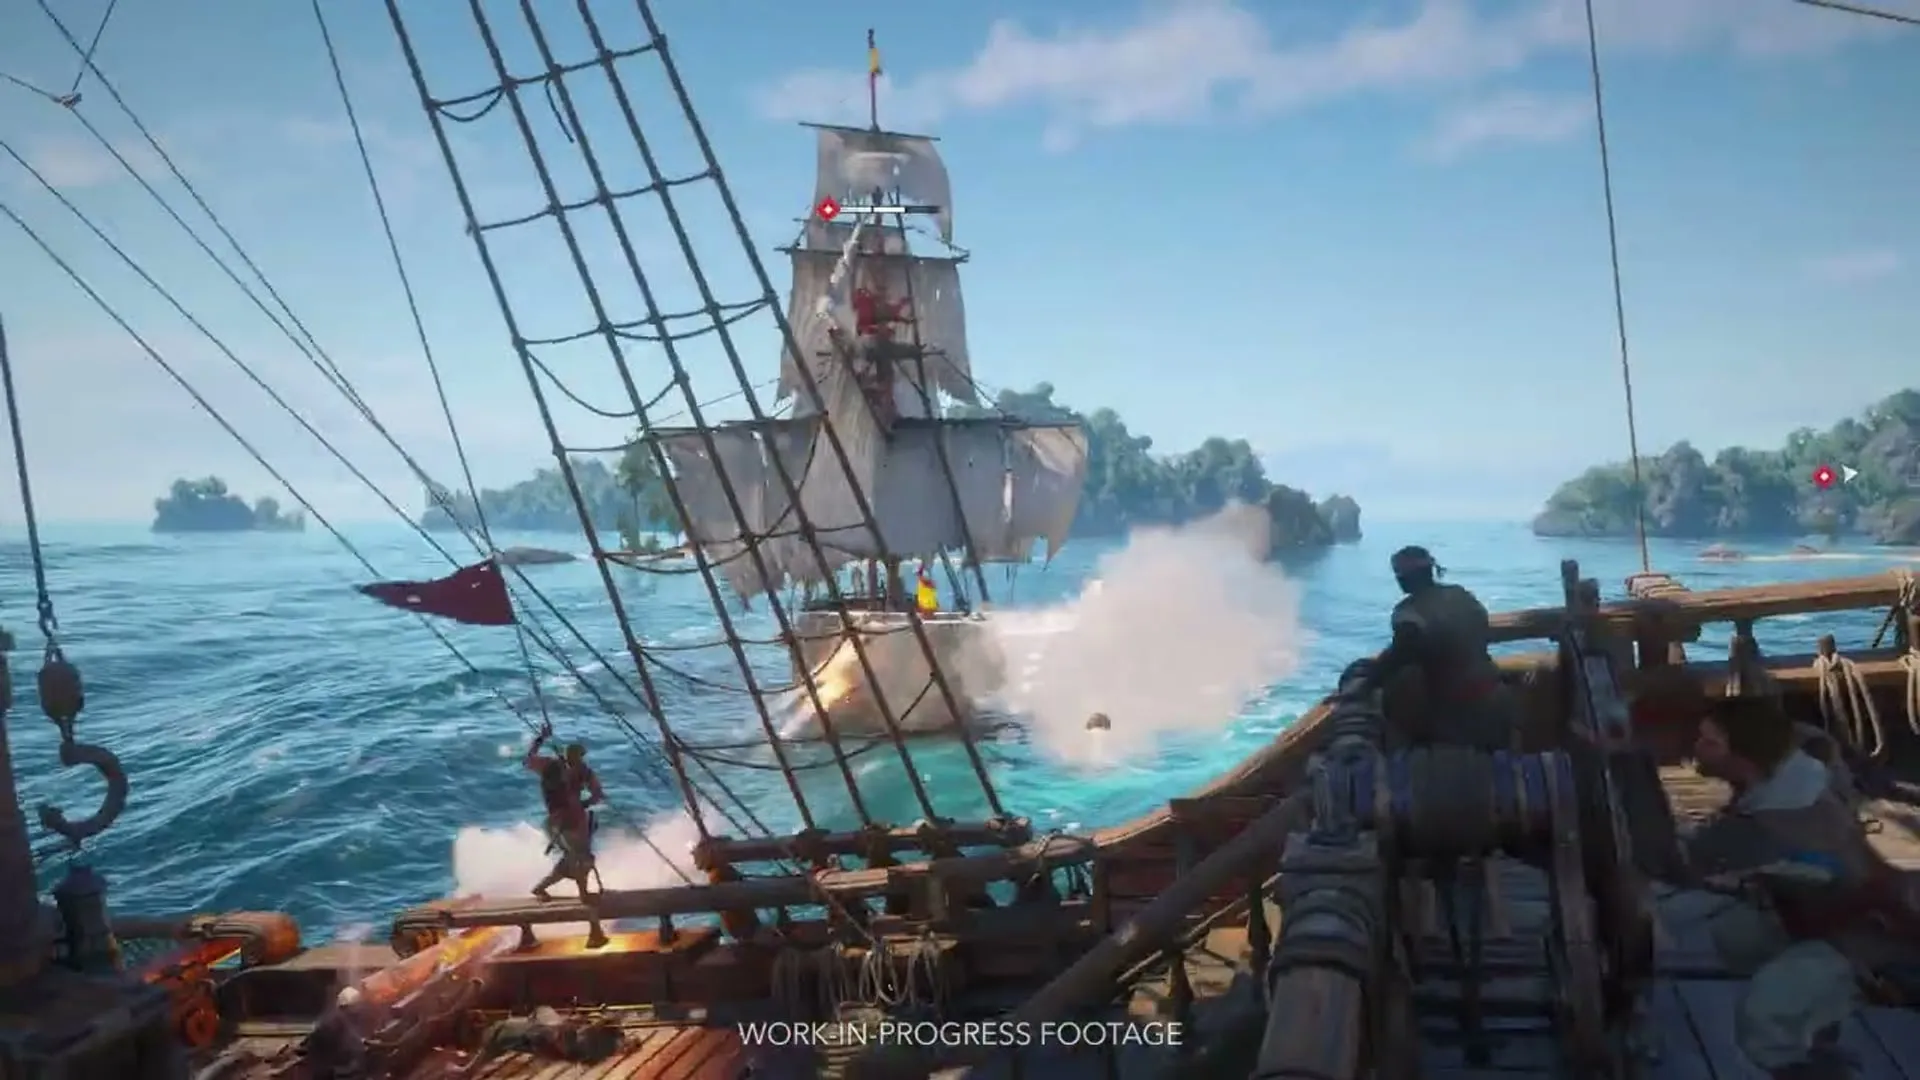
Bow Chasers already help when a target is directly ahead. Resynced adds a double shot alongside the original chain shots: a powerful forward cannonball volley intended to deal heavy damage while pursuing prey.
Use chain shots when the immediate goal is control, such as limiting a ship’s ability to run. Switch to double shot when you have the line and want to convert a chase into real hull damage. The obvious mistake is firing it from a poor angle because the target is technically in front of you. Wait for the ship to be properly lined up; a powerful forward volley wasted into water is still just noise.
Double shot is the answer when the chase is yours. If you are the one being chased, your stern and Shrapnel Barrels are the more relevant conversation.
Heated Shot: reward a stable broadside window
The Jackdaw’s broadside retains flexible round shot and short-range heavy shot, then gains Heated Shot. Ubisoft describes it as multiple quick fiery volleys that deal high damage when they all land.
That condition matters. Heated Shot is not a fire-and-forget response to a ship passing through your peripheral vision. It is a commitment weapon for a target that will stay inside a good broadside window. Use normal shot when you need dependable general pressure; use heavy shot at short range; use Heated Shot when you have created the time and angle to land the sequence.
If you are missing because the enemy is turning away, stop trying to force the broadside. Reposition, chase with Bow Chasers, or change the encounter state with a ram or a boarding plan. Secondary fire works best when you let the ship’s movement choose the ammunition.
Shrapnel Barrels: the escape tool
Shrapnel Barrels launch from the stern, explode upward, and shred enemy sails over a large area. Ubisoft explicitly frames them as a viable way to escape pursuit, and says barrels have a larger area of effect in Resynced.
This is the most easily misunderstood secondary mode because players often save it for a direct kill. Its real value is space. When a stronger ship is behind you, damaging its sails can buy the distance needed to leave a bad engagement, turn toward a fort, or reset for a cleaner fight. It is a tempo tool, not a trophy weapon.
Use it early enough to matter. Waiting until the enemy is already beside the Jackdaw turns an escape weapon into a very expensive stress response.
Deadman’s Cohort: control an area, not one point
Deadman’s Cohort upgrades the mortar after Tobias “Deadman” Smith joins the crew. It keeps the original mortar firing mode and adds a secondary option that saturates an area with many Carcass bombs. Each bomb is individually weaker, but you can manually direct where the projectiles land, making the tool valuable against a zone rather than one precise hull point.
Choose it when several ships, a fort area, or a predictable path makes broad coverage more useful than a single high-damage strike. The control is the skill check. Do not interpret “many bombs” as permission to aim vaguely; the payoff comes from placing the spread where ships will be, not where they were a second ago.
Deadman is not an early-game default because his questline arrives through A World Without Gold. When he becomes available, the Jackdaw officers guide explains his recruitment and extra aimed-broadside perk.
Choose the mode by ship position
| Situation | Best secondary mode | Why |
|---|---|---|
| Enemy running directly ahead | Bow Chaser double shot | Converts pursuit alignment into heavy forward damage. |
| Enemy broadside stays exposed | Heated Shot | Rewards a stable window with repeated high damage. |
| Dangerous ship chasing your stern | Shrapnel Barrels | Damages sails and creates room to escape. |
| Multiple ships or a predictable impact area | Deadman’s Cohort | Saturates a manually directed area with Carcass bombs. |
| Target needs disabling before boarding | Chain shots first | Control the target before optimizing damage. |
A simple combat rotation
Start by deciding whether you are chasing, circling, escaping, or controlling a crowded area. That decision picks the ammunition. Chase with Bow Chasers, establish a broadside window for Heated Shot, drop Shrapnel Barrels when pursuit is the actual danger, and use Deadman’s Cohort when coverage matters.
Then decide whether the disabled ship is worth boarding. Boarding gives double loot, but it is not compulsory when another threat is closing. See boarding versus sinking for that call, and use Great Inagua upgrades to ensure the materials you collect turn into useful ship tiers.
The verdict
Secondary fire modes make Resynced’s naval combat more positional. Do not wait for a cooldown to tell you what to press. Read where the enemy is, choose the ammunition that changes that position in your favor, and keep enough discipline to switch when the fight stops matching the plan.
Sources
← Back to Guides