
How to Find Blackbeard's Treasure in Assassin's Creed Black Flag Resynced: Complete Location & Puzzle Walkthrough
The Caribbean of Assassin’s Creed Black Flag Resynced is filled with buried chests and standard treasure maps, but one specific hunt stands head and shoulders above the rest: Blackbeard’s Treasure. Unlike the typical loop of matching coordinates to a simple drawing on parchment, locating the stash left behind by the legendary Edward Thatch is a multi-stage expedition. It thoroughly tests your mastery of the game’s traversal, combat, and puzzle-solving mechanics. More importantly, it rewards players with a significant narrative payoff—a unique cutscene that further explores the complex relationship between Edward Kenway and the infamous pirate captain.
Finding this hidden trove is entirely optional, yet it remains one of the most fulfilling side activities in the rebuilt Anvil engine open world. The journey forces you through claustrophobic underwater tunnels, throws you into a hostile pirate ambush, and challenges you with ancient environmental traps. Here is exactly how to prepare, where to go, and how to claim Thatch’s legendary hoard.
Gearing Up Before You Set Sail
Before you even consider hunting for this specific treasure, you must ensure Edward and the Jackdaw are properly equipped. This is not a simple shore leave where you can casually dig up a chest in your default outfit.
First, you must progress the main storyline far enough to acquire the Diving Bell. Since this quest involves extensive underwater navigation, attempting it without the proper breathing apparatus upgrades is a guaranteed death sentence. Furthermore, thanks to the newly implemented mechanics detailed in the recent dive anywhere update, the underwater segments are much more dynamic and hazardous than in the 2013 original. You will face aggressive marine life and strong currents that require precise stamina management.
On land, your loadout matters just as much. The ambush awaiting you midway through the hunt requires proficiency in the revamped combat system. Make sure you have upgraded your swords and possess at least a dual-pistol holster. The enemies guarding the secret cove are not standard Spanish or British regulars; they are hardened rogue pirates with erratic attack patterns that demand perfect parry timing and spatial awareness.
Locating the Starting Map
To initiate the hunt, you cannot simply sail to the final island coordinates. You must first secure the bespoke treasure map detailing Thatch’s final clues. This map is hidden within a heavily fortified pirate hunter galleon moored at a military fort in the southern region of the map.
Sail the Jackdaw to the restricted maritime borders and drop anchor at a safe distance. You will need to swim ashore and dock quietly. Utilizing the expanded stealth mechanics, infiltrate the fortress by moving through the stalking zones and tall vegetation. The map is held by an elite captain patrolling the upper wooden walkways of the docked galleon. You can choose to eliminate the entire fortress garrison, but a silent approach utilizing sleep darts and contextual cover takedowns will save your ammunition and health for the actual treasure hunt.
Using the fluid parkour system to scale the galleon’s rigging allows you to drop down and assassinate the captain seamlessly. Once you pickpocket or loot the map from him, the game will not give you a direct, glowing waypoint. Instead, the parchment shows a cryptic sketch of a skull-shaped rock formation surrounded by specific underwater flora, pointing you toward a remote, uncharted reef system far off the coast of Tulum.
Surviving the Flooded Caverns
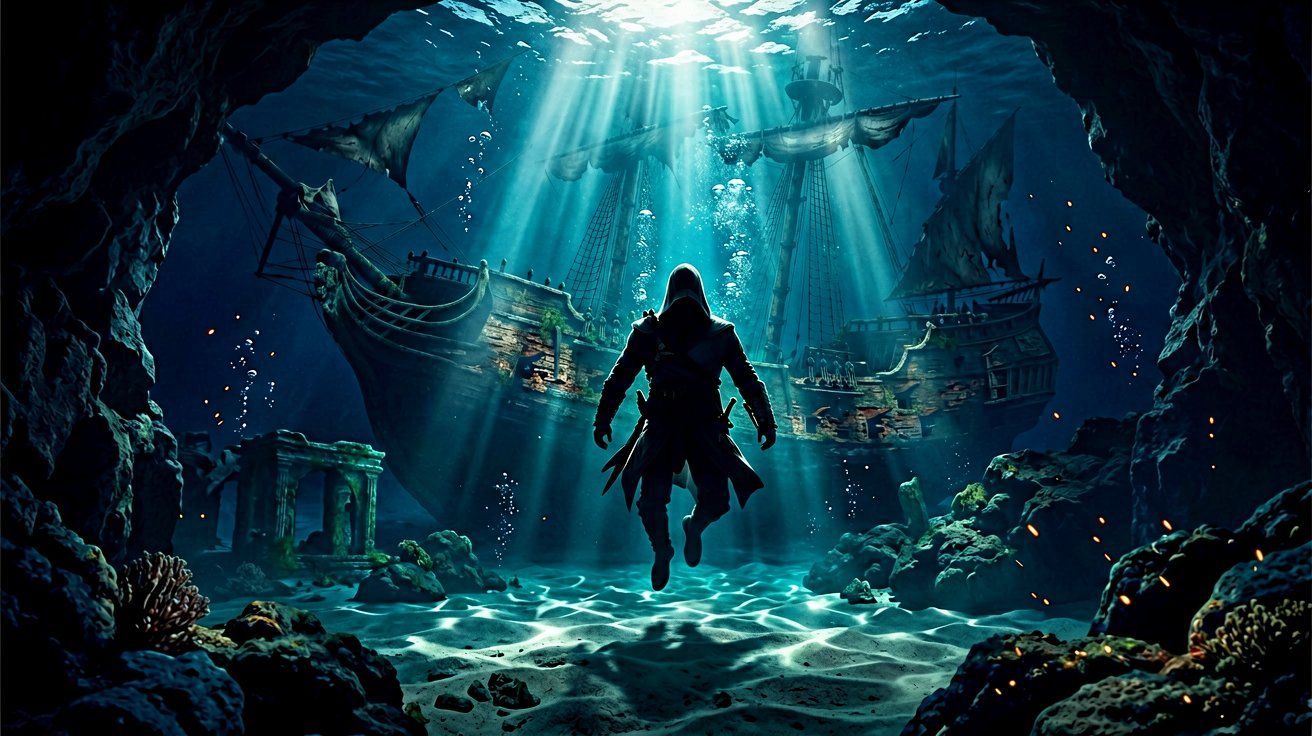
Upon arriving at the correct coordinates indicated by the environmental clues, drop the Jackdaw’s anchor and deploy the Diving Bell. The descent introduces you to the stunning visual overhaul provided by the Anvil engine—sunlight realistically refracting through the turquoise water, illuminating the decaying hull of a massive sunken galleon.
Your target is a dark fissure in the ocean floor beneath the wreck. Swimming through this fissure initiates the first major challenge: the flooded tunnels.
- Air Management: The tunnels are remarkably long and winding. Look for the glowing air barrels strategically wedged in the rocks by previous, less fortunate explorers. You must sprint-swim between these pockets of air. Hesitation or getting turned around will result in drowning.
- Apex Predators: Moray eels hide in the dense seaweed, and a patrolling hammerhead shark guards the largest cavern chamber. Use the kelp beds to break the shark’s line of sight. Unlike standard gameplay encounters on land, you cannot fight back effectively underwater; evasion and patience are your only survival tools.
- Dangerous Currents: Pay attention to the floating debris and sand particles. A strong current pushes against you in the final stretch before the surface. Time your bursts of speed immediately after the current dies down to make headway, conserving your stamina for the final push.
The Smuggler’s Cove Ambush
Breaking the surface, you will find yourself in a massive, bioluminescent underground grotto. However, you are not alone. A splinter faction of rogue pirates, aware of the rumors surrounding Blackbeard’s vault, has set up a heavily fortified camp here.
As soon as you pull yourself onto the slippery wooden docks, the encounter begins. You can approach this in two distinct ways:
- The Silent Approach: Stay in the water and perform ledge assassinations on the patrolling guards. The lighting here is dim, making it ideal for moving between shadows. Taking out the snipers stationed on the elevated stalagmites first using your blowpipe will significantly reduce the threat level and prevent them from pinning you down.
- Open Conflict: If spotted, the camp will swarm you entirely. This is where the game’s emphasis on realistic block-and-counter mechanics shines. With the removal of old-school instant-kill chain counters, you must prioritize targets. Focus on dodging the heavy Brutes, as their unblockable axe attacks will stagger Edward heavily. Use your pistols to break the defense of the agile, knife-wielding enemies who attempt to flank you.
Clearing this camp entirely is mandatory to interact safely with the mechanism sealing the final chamber.
Solving the Ancient Vault Puzzles
With the pirate camp cleared, you face a massive stone door rigged with pirate ingenuity and repurposed Mayan mechanisms. Blackbeard was notoriously paranoid regarding his wealth, and his personal vault reflects that mindset perfectly.
The puzzle involves three massive rotating stone pillars, each bearing different nautical symbols (an anchor, a ship’s helm, and a skull).
- Inspect the surrounding environment carefully. The walls of the grotto feature faded, cryptic paintings that are only visible when you light the nearby braziers using your lantern.
- The paintings correspond to the symbols on the pillars. You must rotate and align the pillars so the correct symbols face the central pressure plate in the exact order depicted on the walls: Helm, Anchor, Skull.
- Once perfectly aligned, step onto the pressure plate. The Anvil engine’s physics system takes over as the heavy counterweights shift dynamically. The massive stone door will grind open, revealing the hidden treasure room. If you step off the plate too early, the door will violently slam shut, forcing you to realign the mechanisms.
The Ultimate Reward: Loot and Lore
Inside the damp vault, you will find a beautifully detailed, ornate chest overflowing with Spanish gold, jewels, and rare artifacts. Looting the chest grants a massive influx of Reales—more than enough to fund several top-tier Jackdaw upgrades or purchase expensive weaponry. You also acquire a unique Blackbeard-themed figurehead for your ship, serving as a cosmetic badge of honor that strikes fear into enemy vessels.
However, the most valuable reward is the immediate cinematic that plays upon opening the chest. Edward discovers a personal, handwritten journal entry left by Thatch. The cutscene is a quiet, highly emotional moment that bridges the gap between their terrifying public personas and their private camaraderie. It sheds significant light on Blackbeard’s fears regarding the end of the Golden Age of Piracy, the burden of his own fearsome reputation, and his genuine hopes for Kenway’s future.
For players deeply invested in the story and the rich historical characters that populate the Caribbean, this cutscene is absolutely essential viewing. It elevates this specific activity from a simple checklist objective to a meaningful narrative beat that honors the legacy of one of history’s most infamous pirates. If you are interested in reading more about the real-world history and in-game adaptations of these figures, Ubisoft recently released a fantastic deep dive on the topic, which you can read about in their character reference update.
And if this multi-stage hunt has you craving more exploration and riches, be sure to check out our comprehensive guide on standard treasure maps and buried secrets to continue plundering the high seas.
Sources
← Back to News