
Struggling with the Jackdaw? A Beginner's Guide to Naval Combat in Black Flag Resynced
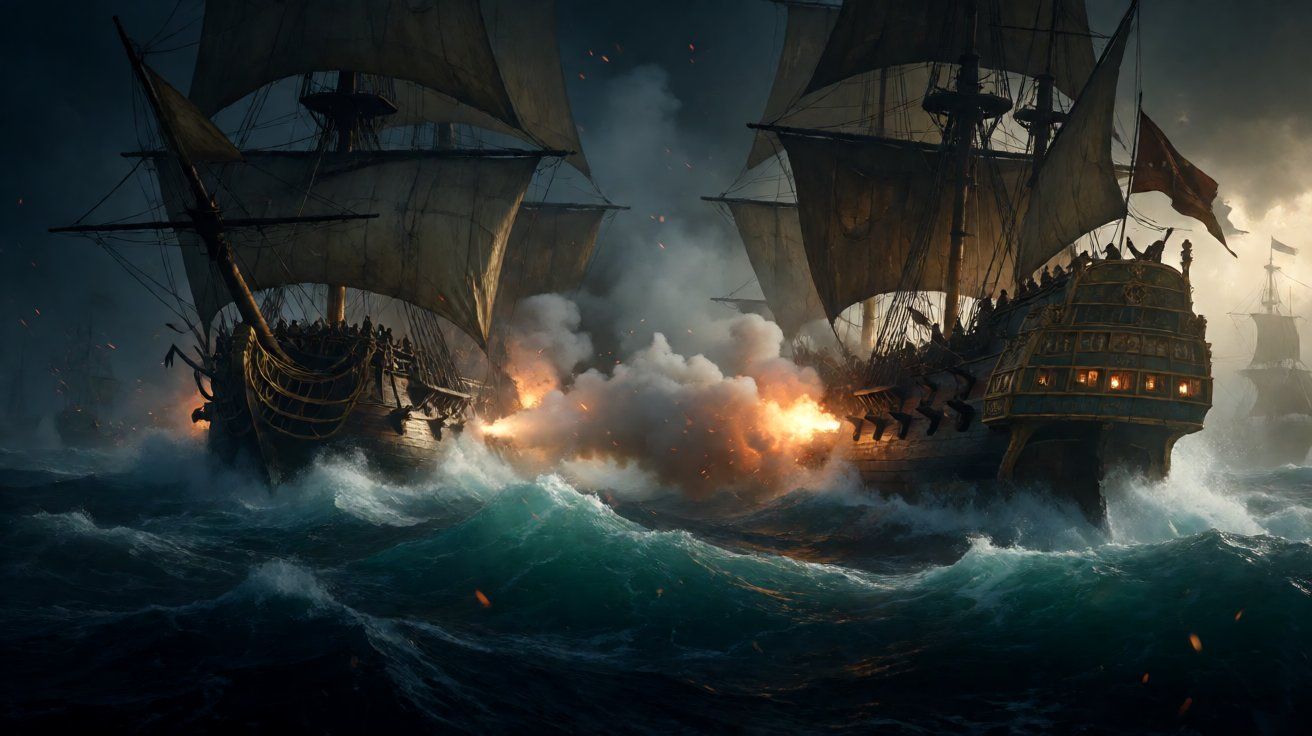
Over the past few months since the release of Assassin’s Creed Black Flag Resynced, the community has celebrated the triumphant return of Edward Kenway to current-generation hardware. However, a distinct trend has emerged among a specific subset of players. Those who joined the franchise during the RPG era—spending hundreds of hours in the land-locked landscapes of Assassin’s Creed Valhalla, Odyssey, or the recent Shadows—are finding themselves overwhelmed by the naval mechanics.
In a recent community thread, one veteran player with over 500 hours in Valhalla noted they had to drop Black Flag Resynced because they were “terrible at sailing” and found the naval segments frustrating. If this resonates with you, do not worry. You are not alone. The shift from grounded melee combat to commanding a multi-ton floating fortress requires a complete rewiring of your gamer instincts.
This guide is designed to bridge that gap. We will break down the essential sailing mechanics, combat positioning, and resource management necessary to make the Jackdaw the most feared vessel in the Caribbean. Before you know it, you will be hunting down frigates and confidently humming along to the sea shanties.
The Mindset Shift: From Grounded Assassin to Pirate Captain
In the RPG era of the franchise, your primary concerns were dodge timings, stamina management, and striking the right parry window. If you made a mistake against an enemy, you could simply roll out of the way. Naval combat in Black Flag Resynced is an entirely different beast.
The Jackdaw does not have a dodge roll. You cannot cancel animations or rely on twitch reflexes to survive a barrage of cannon fire. Instead, naval combat is entirely about predictive positioning and momentum management. You must think ten seconds ahead. Where is the wind pushing you? Are you exposing your vulnerable broadside to the enemy’s front? Are you sailing into a rocky bottleneck?
Mastering the ship requires patience. You are steering a massive wooden machine powered by the weather. Accepting the deliberate, weighty pacing of the Anvil engine’s physics simulation is the first and most vital step toward dominating the seas.
Mastering the Wind and Managing Speed
To command the Jackdaw, you must first understand its relationship with the wind, represented by the color-coded indicator on your minimap. A green indicator means the wind is at your back, providing maximum acceleration. A red indicator means you are sailing directly into the wind, effectively stalling your momentum.
There are four distinct speed states you must juggle constantly during gameplay:
- Stop (Drop Anchor): Pressing the deceleration button repeatedly will drop the sails completely. This is not just for parking at a port. In the heat of battle, coming to a dead stop can force an overly aggressive enemy ship to sail right past you, exposing their rear to your cannons while giving you the perfect turning pivot.
- Half Sail: This is your primary combat speed. With sails half-deployed, the Jackdaw moves at a moderate pace but gains maximum maneuverability. You can execute tight turns to track fast-moving schooners or quickly pivot your broadsides to face a threat. Never fight at full sail unless you are actively fleeing.
- Full Sail: This mode catches the maximum amount of wind, providing excellent straight-line speed. However, your turning radius becomes incredibly wide—comparable to a brick sliding on ice. Use this for general traversal or closing the gap on a fleeing target.
- Travel Speed: Once out of combat and in open waters, you can activate Travel Speed. The camera pulls back, giving you a sweeping cinematic view of the ocean, and the ship moves exponentially faster. Note that any hostile action or entering a restricted zone will immediately drop you out of this state.
Learning to seamlessly shift between Half Sail for turning and Full Sail for repositioning is the hallmark of an experienced captain.
The Art of the Broadside: Weapons and Camera Controls
One of the most confusing aspects for newcomers is how the weapon system operates. There is no traditional “weapon wheel” while steering the ship. Instead, your weapons are dictated entirely by where you are looking with the camera.
- Looking Left or Right (Broadside Cannons): Looking to the sides of the ship aims your primary broadside cannons. Holding the aim button brings up a white trajectory arc. For standard Round Shot, aim slightly ahead of moving targets. As you upgrade the Jackdaw, you can utilize Heavy Shot—a devastating, short-range, un-aimed blast that shreds armor. To fire Heavy Shot, simply press the fire button without holding the aim button while looking to the side.
- Looking Forward (Chain Shot/Chasers): Looking past the bow of your ship equips the chain shot. These are designed not for damage, but for utility. Hitting a fleeing ship with chain shot will shred its sails, slowing it down to a crawl and allowing you to catch up.
- Looking Backward (Fire Barrels): If a ship is tailing you, looking behind the Jackdaw allows you to drop floating fire barrels. These act as proximity mines, dealing massive damage to anyone foolish enough to follow in your wake.
- The Swivel Gun: After landing a successful broadside, you will often see glowing red reticles appear on the enemy hull. Holding the secondary fire button automatically snaps your swivel gun to these exposed weak points for critical damage. It requires no manual aiming, just precise timing.
If you are still struggling with how these inputs translate to on-foot scenarios, we recommend reviewing our general combat gameplay overview to better understand the engine’s approach to situational awareness.
Defense is Key: How and When to Brace
In modern action games, blocking is a split-second decision. In Black Flag Resynced, bracing is a proactive measure that requires acute situational awareness.
When you see an enemy ship’s cannons flash, or when you notice the water turning yellow and red to indicate an incoming mortar strike, you must immediately hold the brace button. You will hear Edward shout a command, and the crew will physically duck behind the gunwales.
Bracing reduces incoming damage by a massive percentage. It is the difference between losing a third of your health bar and shrugging off a volley like it was a stiff breeze. Do not get greedy. If you are halfway through lining up the perfect shot but you see the enemy about to fire, abandon your attack and brace. A sunken pirate cannot spend their plunder.
The Spyglass and Target Selection
Information is your greatest weapon in the Caribbean. The spyglass is not just for spotting landmasses; it is your primary tactical tool.
Before engaging any vessel, always pull out your spyglass. It will display the ship’s level, its faction (British, Spanish, or Pirate), and most importantly, its cargo. The Caribbean economy is driven by raw resources. You need wood and metal to upgrade your hull and cannons, while sugar and rum are strictly for selling to line your pockets with Reales.
As a beginner, do not bite off more than you can chew. Stick to fighting gunboats, schooners, and low-level brigs. If you spot a massive Galleon or Man-o’-War lumbering across the horizon, give it a wide berth. Engaging high-level ships before upgrading your hull armor is a guaranteed trip to the bottom of the ocean. If you are desperately short on cash for upgrades and want to avoid difficult naval encounters early on, check out our guide on fast Reales farming.
Boarding, Repairing, and Exploiting Environmental Hazards
Once you have reduced an enemy ship’s health bar to the red zone, it will become incapacitated. You now have a choice: sink it immediately with a final volley for a quick, reduced payout of resources, or pull alongside to board it.
Always choose to board if it is safe to do so. Boarding initiates a localized melee combat phase where you swing over to the enemy deck, clear out a quota of enemy sailors, and occasionally complete secondary objectives like destroying powder reserves or taking out the captain.
Successfully boarding a ship grants you 100% of its cargo and presents you with three post-combat options:
- Repair the Jackdaw: This is your primary method of healing. If you are in the middle of a prolonged engagement, capturing a smaller ship purely to dismantle it and repair the Jackdaw is a crucial survival tactic.
- Lower Wanted Level: Sinking too many civilian or military ships will summon powerful Hunter ships. Using a captured vessel to bribe local officials keeps the heat off your back.
- Send to Kenway’s Fleet: Later in the game, you can add ships to your personal armada. For more on this strategic minigame, read our dedicated guide on mastering Kenway’s Fleet.
Additionally, the Caribbean is full of dynamic, unpredictable events. Community members hunting for elusive Platinum trophies have reported how difficult specific randomized events can be to track down, such as finding a “burning ship” adrift at sea. Use these environmental hazards to your advantage. If you see two AI factions fighting each other, or a ship struck by a rogue wave or waterspout, swoop in and pick off the weakened survivors for easy loot.
Charting Your Course Forward
Naval combat in Assassin’s Creed Black Flag Resynced is a deeply rewarding system once it finally clicks. It forces you to think strategically, manage resources, and engage with the open world on a macro scale. Start small, pick your fights carefully, and prioritize hull and cannon upgrades above cosmetic wheel or sail changes.
Once you master these fundamentals, you can set your sights on more ambitious goals. You will soon be dominating fort takeovers and eventually preparing to defeat the notorious Legendary Ships that guard the remote corners of the map.
(Bonus Note: If you are a newcomer reading this who is completely sold on giving the game a try, community trackers report that the highly sought-after Collector’s Edition PS5 has finally been restocked at its $199.99 MSRP at major retailers like Amazon and Walmart, making this the perfect time to hoist the colors without paying scalper prices.)
Sources
← Back to News