
Black Flag Resynced Dynamic Weather: Waterspouts, Lightning, and Safer Sailing
The short answer
Bad weather is a gameplay hazard in Black Flag Resynced, not just a prettier skybox: Atmos changes water conditions, storms can bring two types of waterspout, and lightning can strike the water for area damage. When a route is optional, slow down, give hazards space, and avoid combining a storm with a fight you do not need. The Jackdaw has guns; the Caribbean has no interest in a fair duel.
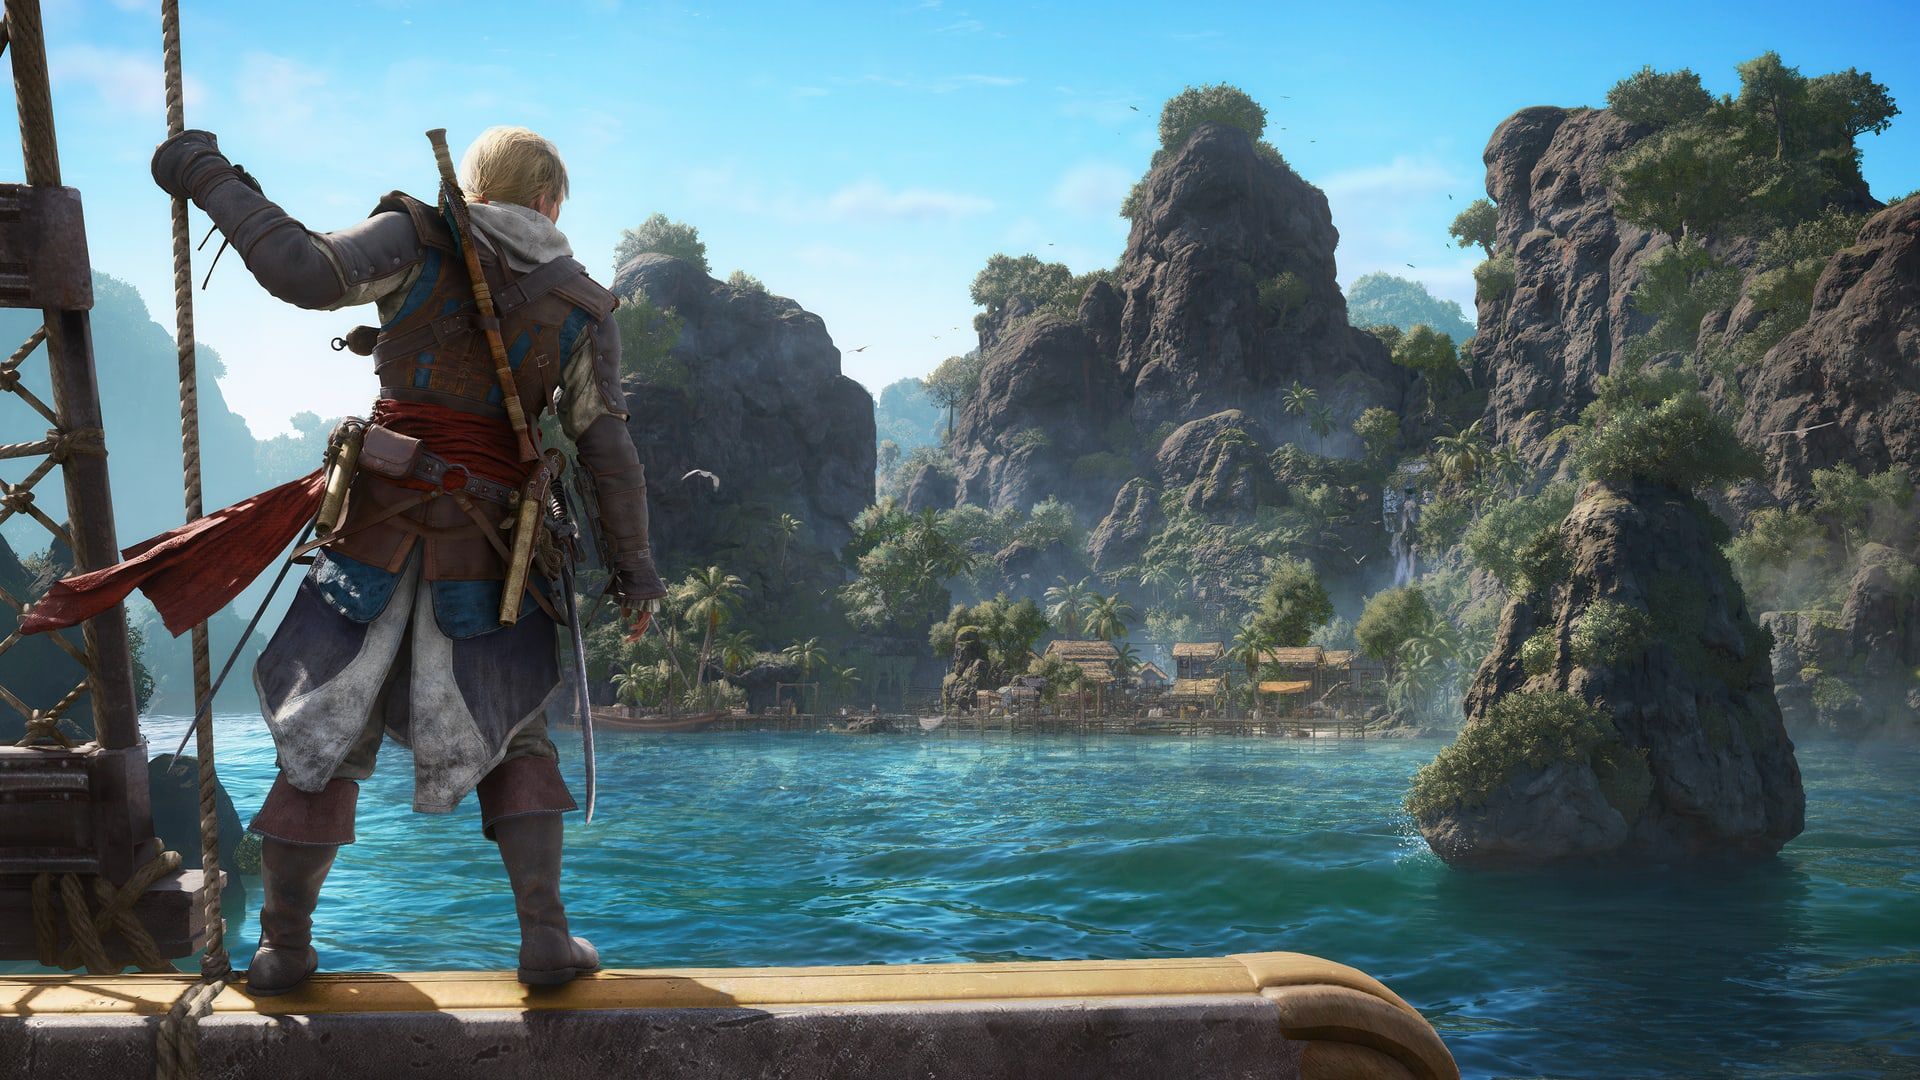
Ubisoft calls the system Anvil Atmos. It simulates a weather-driven water cycle across rogue winds and waves, violent storms, and calm sun. Sails react to wind, and world objects can move or be destroyed. The practical takeaway is simple: weather changes the terms of travel. A plan that is safe in clear water can be wasteful or dangerous once the conditions turn.
What weather changes
The official description makes three things clear. First, water behavior is part of the system, so rough conditions are not merely visual noise. Second, wind affects the ship’s cloth and travel feel. Third, the environment itself can react, with objects moving or breaking. Resynced wants storms to be something you navigate through, not a cutscene you admire from a menu.
The useful response is to simplify the job at hand. In calm conditions, it is reasonable to scan cargo, chase a target, collect floating loot, and detour to a side activity in one trip. In harsh weather, prioritize the primary destination. Every additional turn, boarding setup, and close pass asks more of the ship when the sea is already asking for attention.
Waterspouts and lightning: the danger that matters
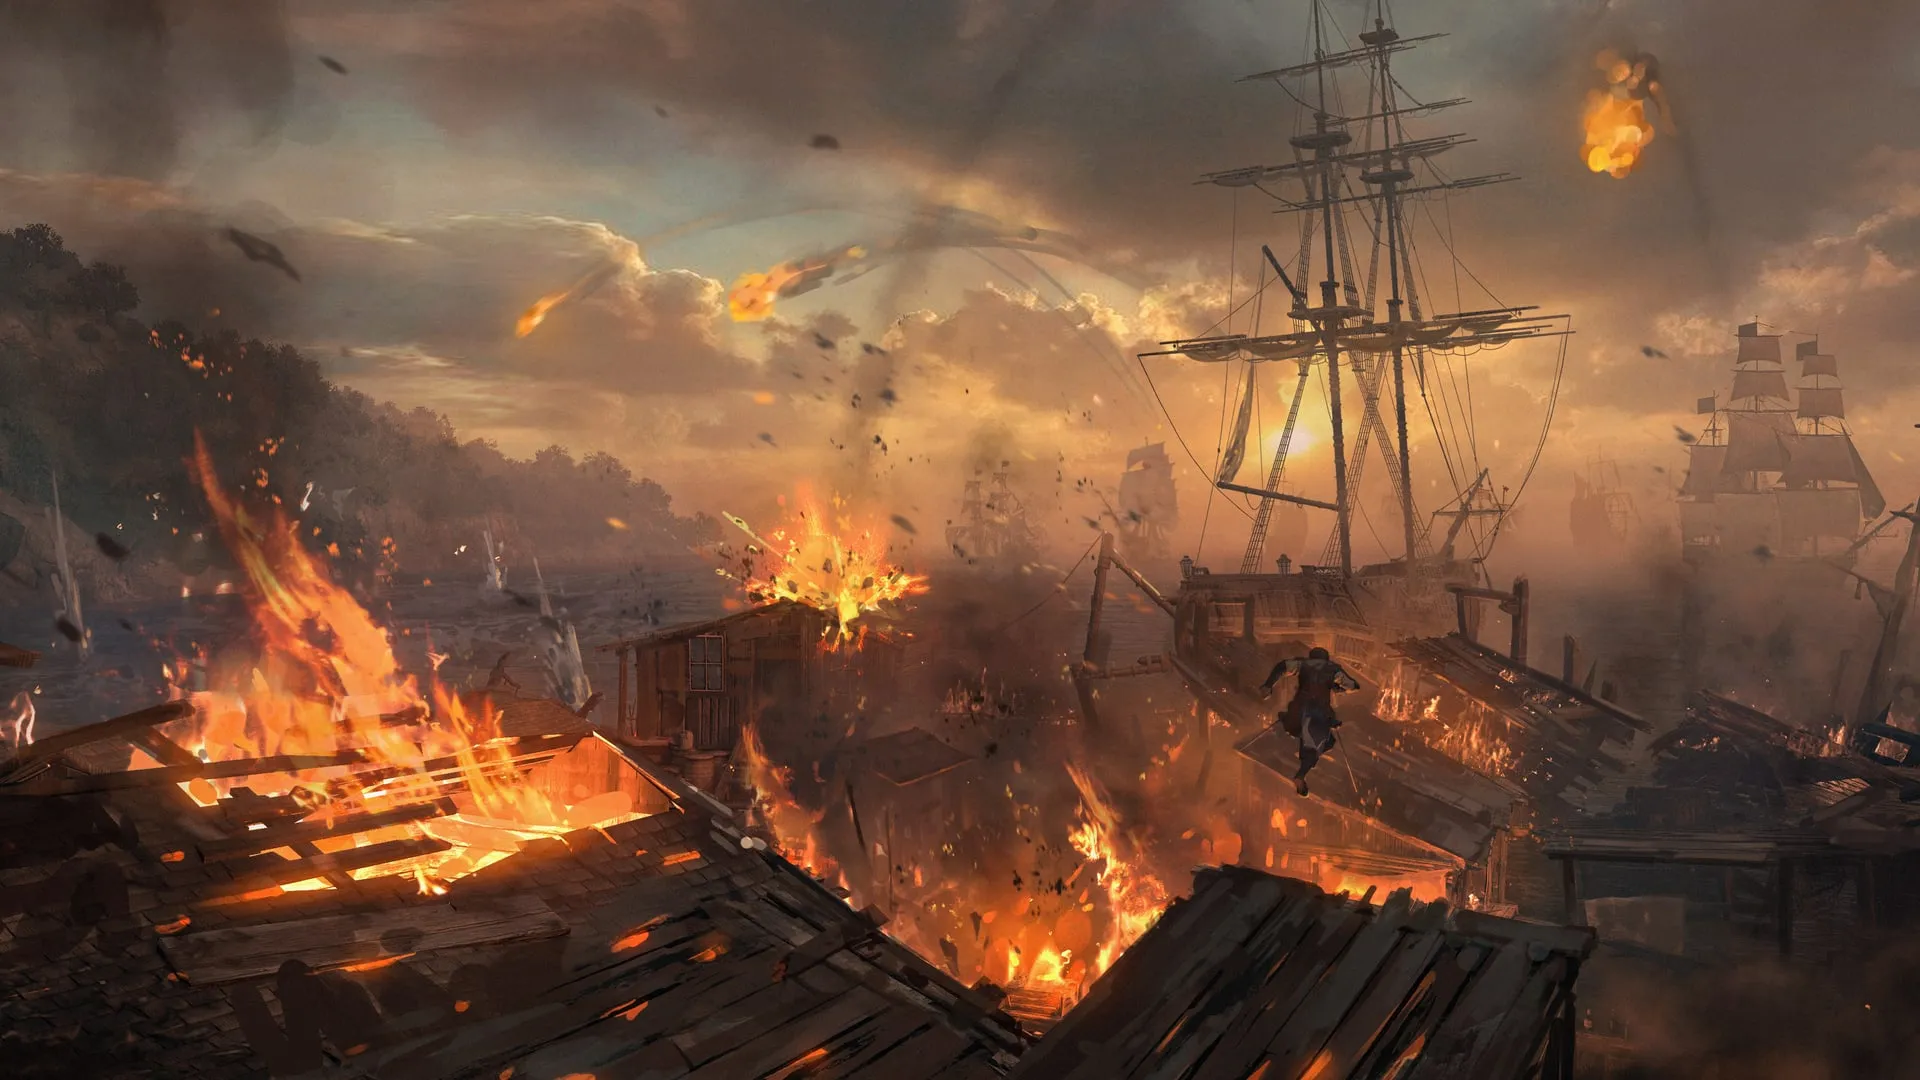
Ubisoft confirms two waterspout types in bad weather, and says lightning strikes can hit the water for area-of-effect damage. That gives you two rules that are more valuable than a made-up distance chart:
- Do not test a waterspout at close range just because you can see it. Give moving hazards room and choose a wider line when the route permits it.
- Do not bunch a ship fight into water that is already taking lightning. Area damage makes an already chaotic engagement harder to read and harder to recover from.
The official sources do not publish a universal safe radius or a frame-perfect escape technique, so this guide will not invent one. The dependable approach is spatial discipline: see the hazard early, make one decisive direction change, and stop treating the shortest line as the cheapest line.
Choose the right response for the voyage
| Your situation | Best weather response | Why |
|---|---|---|
| You are traveling to a story objective | Preserve hull and take the clearer route | Progress is worth more than a risky side detour. |
| You need a specific ship’s cargo | Scan first, then fight only if the reward changes the next upgrade | A storm is a poor time for random targets. |
| Pirate Hunters are already pursuing | Create distance, reduce Wanted at the next opportunity | Hunters plus hazards compound the problem. |
| You are near a port | Dock, restock, and reconsider the route | The Harbormaster can prepare the ship before the next leg. |
| You are farming optional loot | Skip it until the sea is readable again | Optional resources are not worth optional damage. |
This is not cowardice. It is the same kind of judgment that makes boarding profitable instead of slow. The map is large enough that every tempting icon does not deserve to become a storm story.
Weather should change combat priorities
Naval combat already asks you to track enemy position, your weapons, hull condition, and whether a disabled ship is worth boarding. A storm adds moving hazards and unpredictable water to that stack. The answer is not to abandon combat forever. It is to pick fights with a clean exit and avoid escalating when the reward does not justify the conditions.
If a target is already disabled, boarding may still be correct because it yields more loot than sinking and can provide a repair or Wanted reduction reward. But ask whether the deck fight and post-boarding choice leave you in better shape than simply heading to port. The boarding versus sinking guide covers those rewards; weather adds a reason to favor the lower-risk result over the largest theoretical payout.
Secondary firing modes also become more valuable when you think in terms of space. Shrapnel Barrels damage sails over a broad area and are explicitly positioned as an escape option. That does not make them a weather cure, but it can create room when a chase and a storm happen together. More detail is in Jackdaw secondary firing modes.
Plan ports as weather breaks
The local Harbormaster is where you buy Jackdaw upgrades, restock ship weapons, and buy or sell cargo. Because those services moved out of the Captain’s Cabin, a port is an actual operational stop rather than cosmetic scenery. In poor weather, that matters. A short safe stop can refill the options that turn the next trip from a gamble into a plan.
Use ports to join the dots: sell resources you do not need, buy the upgrade that fixes the ship’s weakness, restock, and clear Wanted through an Officer if pirate hunters are also in play. The Captain’s Cabin and Harbormaster guide separates those menus so you do not sail to the wrong place expecting an upgrade screen.
Do not confuse weather danger with difficulty settings
Resynced lets you adjust Naval difficulty separately from Combat, Stealth, and Activities. That is helpful if the ship fights themselves are stopping progress, but it does not turn weather into something to ignore. Lowering a challenge setting can make an encounter more manageable; it does not remove the editorial advice to avoid stacking risks you did not need to take.
If the goal is to learn, choose a clear-weather or lower-pressure situation and practice the naval tools. If the goal is to get a story mission done, set the Naval slider appropriately and sail with the route in mind. Separate difficulty controls mean the game lets you tune the lesson without making every other part of the campaign easier. See difficulty settings explained for the category breakdown.
The verdict
Atmos makes the Caribbean more than a road between objectives. Watch the water, give waterspouts a generous berth, avoid lightning zones when a fight is optional, and use ports as deliberate reset points. The strongest captain is not the one who sails through every storm. It is the one who knows which storm is worth the risk.
Sources
← Back to Guides